How to Use Clipart for Custom T-Shirts
Designing custom t-shirts can be simple and affordable with clipart. Clipart refers to pre-made graphics that are easy to customize and perfect for t-shirt printing. Here’s how you can use clipart to create your designs:
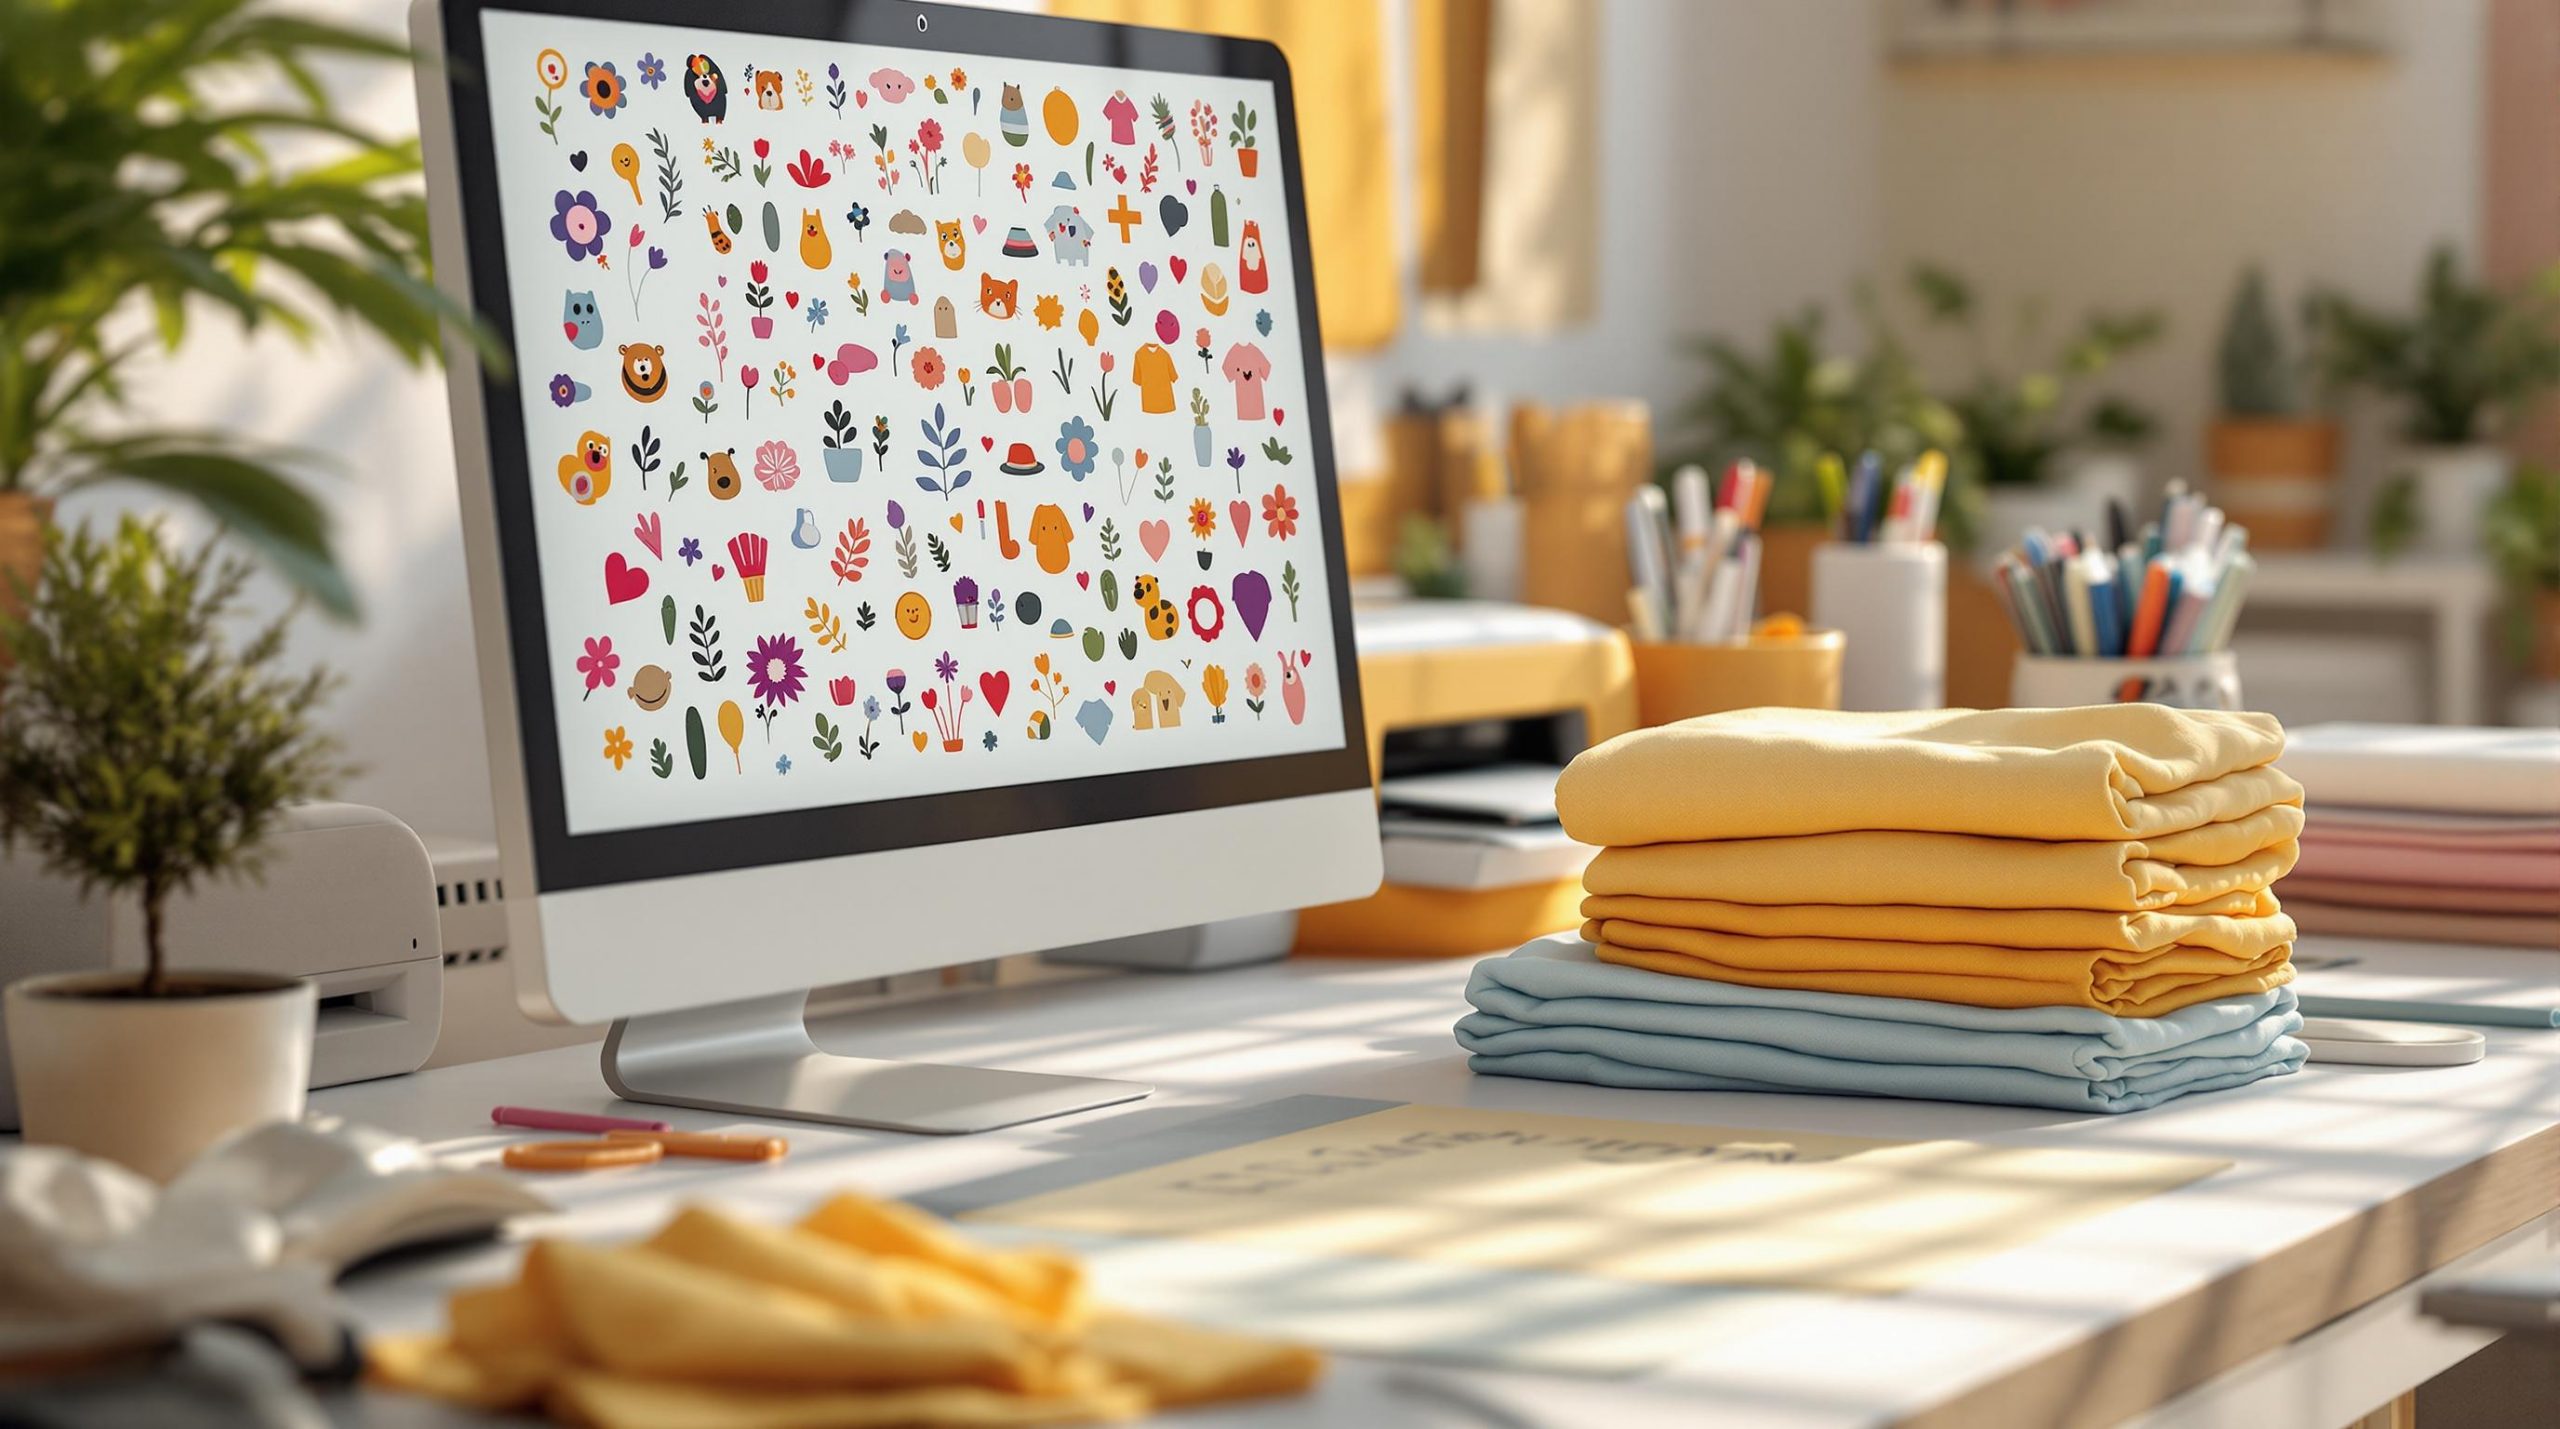
- Why Use Clipart? It’s flexible, high-quality, and saves time compared to creating art from scratch. Perfect for small businesses, schools, nonprofits, and personal events.
- Where to Find Clipart? Use trusted sources like ooShirts‘ built-in library, which offers print-ready, vector-based designs cleared for commercial use.
- Best File Types for Printing: Use vector formats like SVG or AI for sharp results, or high-resolution PNG for detailed images.
- Design Tips: Resize, rotate, and adjust colors to match your t-shirt’s style. Keep text and clipart balanced for a clean layout.
- Printing Methods: Choose screen printing for bold designs and large orders, or digital printing for detailed, colorful designs in smaller quantities.
Quick Comparison
| Aspect | Screen Printing | Digital Printing (DTG) |
|---|---|---|
| Best For | Simple designs, bulk orders | Detailed designs, small orders |
| Color Handling | Limited colors, bold visuals | Unlimited colors, photo-quality |
| Cost Efficiency | Bulk discounts | Affordable for small runs |
| Durability | Very durable | Good durability |
| Setup Time | Longer setup | Quick and easy |
Whether you’re creating shirts for events, branding, or personal use, clipart makes the process faster and more accessible. Platforms like ooShirts simplify everything from design to production, ensuring your t-shirts look great every time.
Finding Quality Clipart
Top Clipart Sources
When searching for clipart, it’s important to stick with reliable sources that provide high-quality, print-ready options. For example, ooShirts offers a built-in clipart library tailored specifically for t-shirt printing, ensuring everything works smoothly with their production process.
Here’s a quick comparison of popular clipart sources, focusing on quality and licensing:
| Source Type | Key Features | Quality Standards | Commercial Use |
|---|---|---|---|
| ooShirts Library | Direct integration, no extra fees | Print-ready, vector-based | Included with design |
| Built-in Design Tools | Real-time previews, resizing options | Tested for fabric printing | Fully cleared for use |
| Platform Collections | Easy access, consistent styles | Quality-checked graphics | Commercial rights included |
These sources are a great starting point for creating professional designs. Just make sure to follow the quality guidelines for the best printing results.
Quality and Usage Guidelines
To get the best results when printing t-shirt designs, pay close attention to the quality of the clipart you choose. Here are some key tips:
- Use vector-based art: This ensures your design stays sharp and clear, no matter the size.
- Check file sizes: The artwork should be large enough to prevent pixelation during printing.
Design Compatibility Tips:
- Make sure the clipart can be rotated and positioned without issues.
- Test resizing to confirm the artwork adjusts smoothly.
- Verify that the clipart is prepared specifically for fabric printing.
For a polished, print-ready design, take advantage of ooShirts’ professional review service. This step ensures your final product meets all the necessary printing standards.
How To Design a Custom T-Shirt Online Using Clip Art
File Setup and Preparation
Once you’ve chosen high-quality clipart, setting up your file correctly is key to achieving great printing results.
Recommended File Types
Here’s a quick overview of the best file formats for printing:
| File Format | Best Use Case | Benefits | Drawbacks |
|---|---|---|---|
| SVG (Vector) | Logos, text, simple graphics | Scales perfectly, sharp edges, small file size | Limited support for color gradients |
| AI (Adobe Illustrator) | Detailed vector designs | Advanced editing, widely used in the industry | Requires Adobe Illustrator or compatible software |
| PNG | Photos, detailed graphics | Supports transparency, high-quality images | Needs to be sized correctly from the start |
| EPS | Commercial printing | Works across platforms, maintains vector quality | Larger file sizes compared to others |
Choosing the right file type is just the beginning. Once you’ve made your selection, it’s time to prepare your image for printing.
Image Preparation Steps
Following these steps will ensure your artwork is print-ready and looks great on fabric.
1. Size Configuration
Adjust your clipart to the exact dimensions required. Use ooShirts’ built-in scaling tools to resize your image without losing quality.
2. Resolution Optimization
Make sure your image meets these resolution standards for sharp printing:
- Vector files: No resolution issues to worry about.
- Raster images: Must be at least 300 DPI at the final print size.
- Text elements: Convert all text to outlines to avoid font issues.
3. Color Adjustments
Set your file to RGB mode, check the contrast against the shirt color, and use the preview tool to ensure the colors match your expectations.
The ooShirts design platform simplifies the process by offering tools for resizing, rotating, and fine-tuning your clipart. This ensures your design meets printing standards while staying true to your vision.
sbb-itb-1cc5ba6
Design Layout and Modifications
Once your files are ready, it’s time to focus on placing clipart and making adjustments to give your design a polished, professional look.
Size and Position Guidelines
Make sure to resize, rotate, and move your clipart to match the shirt’s dimensions. A design that looks great on an XL shirt might feel too large on a small one. Preview your layout to ensure everything feels balanced and proportional. These tweaks lay the groundwork for refining your design further.
Basic Design Adjustments
After positioning your clipart, use these steps to enhance your design:
- Color Adjustments
Adjust the contrast based on the shirt’s background. For light shirts, boost contrast, while for darker shirts, tweak opacity for better visibility. Platforms like ooShirts let you preview your design on different shirt colors. - Text Placement
Keep text spaced away from clipart to maintain clarity. You can place text above, below, or around the clipart, making good use of negative space. - Alignment
Use alignment tools to center your clipart, then add text or other elements to create a well-balanced design.
These steps will help you create a visually appealing and cohesive layout.
Online Design Software Options
Creating professional t-shirt designs has never been easier with the help of digital tools. These platforms simplify the process by offering features like built-in clipart libraries and customization options. Let’s dive into one of the top tools and how to review your designs effectively.
T-Shirt Design Programs
ooShirts’ online design lab makes t-shirt creation straightforward with its user-friendly interface and advanced features. Here’s what you can expect:
- Extensive clipart library: Quickly access a variety of design elements to enhance your t-shirts.
- Precision controls: Adjust size and rotation with exact measurements for perfect placement.
- Real-time previews: See how your design looks on different shirt colors and styles, ensuring professional results.
Design Review Process
Before sending your design off for printing, it’s crucial to review it thoroughly. Here’s how:
- Initial Self-Review
Zoom in and out on your design to check for clarity and detail. Make sure it looks sharp at all sizes. - Professional Design Review
Take advantage of ooShirts’ design review service. Their team can help ensure your design is print-ready by:- Checking the resolution to match your chosen print method.
- Verifying color compatibility for accurate results.
- Confirming proper placement within the print area.
- Offering suggestions to improve the overall look.
- Final Preview
Double-check that your clipart and design elements maintain their quality and impact across all shirt options. This step ensures your final product meets your expectations.
Print Production Methods
Selecting the right printing method is key to turning your clipart designs into reality. Each method works best for specific design types and order sizes.
Screen vs. Digital Printing
Screen printing and digital printing (DTG – Direct to Garment) offer unique advantages depending on your project needs:
| Feature | Screen Printing | Digital Printing (DTG) |
|---|---|---|
| Best for | Simple designs, large orders | Detailed designs, small orders |
| Color handling | Limited colors, bold results | Unlimited colors, photo-quality |
| Cost efficiency | Ideal for bulk orders | Affordable for small runs |
| Durability | Extremely durable | Good durability |
| Setup time | Longer setup process | Quick and easy setup |
Screen printing is perfect for bold, vibrant designs with limited colors. It’s cost-effective for large orders, making it a go-to for team uniforms or event merchandise. On the other hand, digital printing shines when working with intricate, multi-colored designs. It provides excellent color accuracy without the added setup costs, making it ideal for smaller, detailed projects. Use this comparison to decide which method suits your design and order size.
Why Choose ooShirts

ooShirts offers both screen and digital printing, making them a versatile choice for any project.
Since 2007, ooShirts has produced over 10 million custom t-shirts [1]. Here’s why they stand out:
- Both Printing Options: Whether your design is simple or complex, they use the best method for your needs.
- Proven Quality: With a 4.8/5 rating from 12,370 reviews [1], their consistent quality speaks for itself.
- Expert Guidance: Their design team helps ensure your clipart is print-ready and optimized.
“I have researched MANY places to buy screenprinted shirts and you have the best prices and great quality. You also have great turnaround times. Thanks!”
– Julie Morris, Circle Pines, MN [1]
ooShirts is transparent about pricing, which depends on factors like t-shirt style, brand, printing method, design complexity, and order size. They also offer bulk discounts without compromising quality. Plus, their no-minimum order policy makes them accessible for everything from personal projects to large-scale events.
“Shirts were delivered ahead of schedule. Friendly, knowledgeable customer service and very helpful art designers.”
– Tiffany May, Willmar, MN [1]
Conclusion: Steps to Success
Process Overview
Creating print-ready t-shirts involves a few key steps to ensure your designs look their best. Start by choosing apparel and colors that complement your artwork.
When working with clipart designs, keep these points in mind:
- File Preparation: Use high-quality clipart that aligns with your design goals.
- Design Layout: Arrange and resize elements to fit perfectly within the print area.
- Text Integration: Pick fonts that pair well with your clipart and are easy to read.
- Professional Review: Have a professional check over your design for any needed adjustments.
Once your design is complete, you’re ready for production prep.
Next Steps
Here’s how to finalize your design and move forward:
- Save a backup of your design file.
- Submit your design for expert review to catch any potential issues.
- Double-check production details, including:
- Selected style and color
- Measurements of the print area
- Number of colors in the design
- Total order quantity