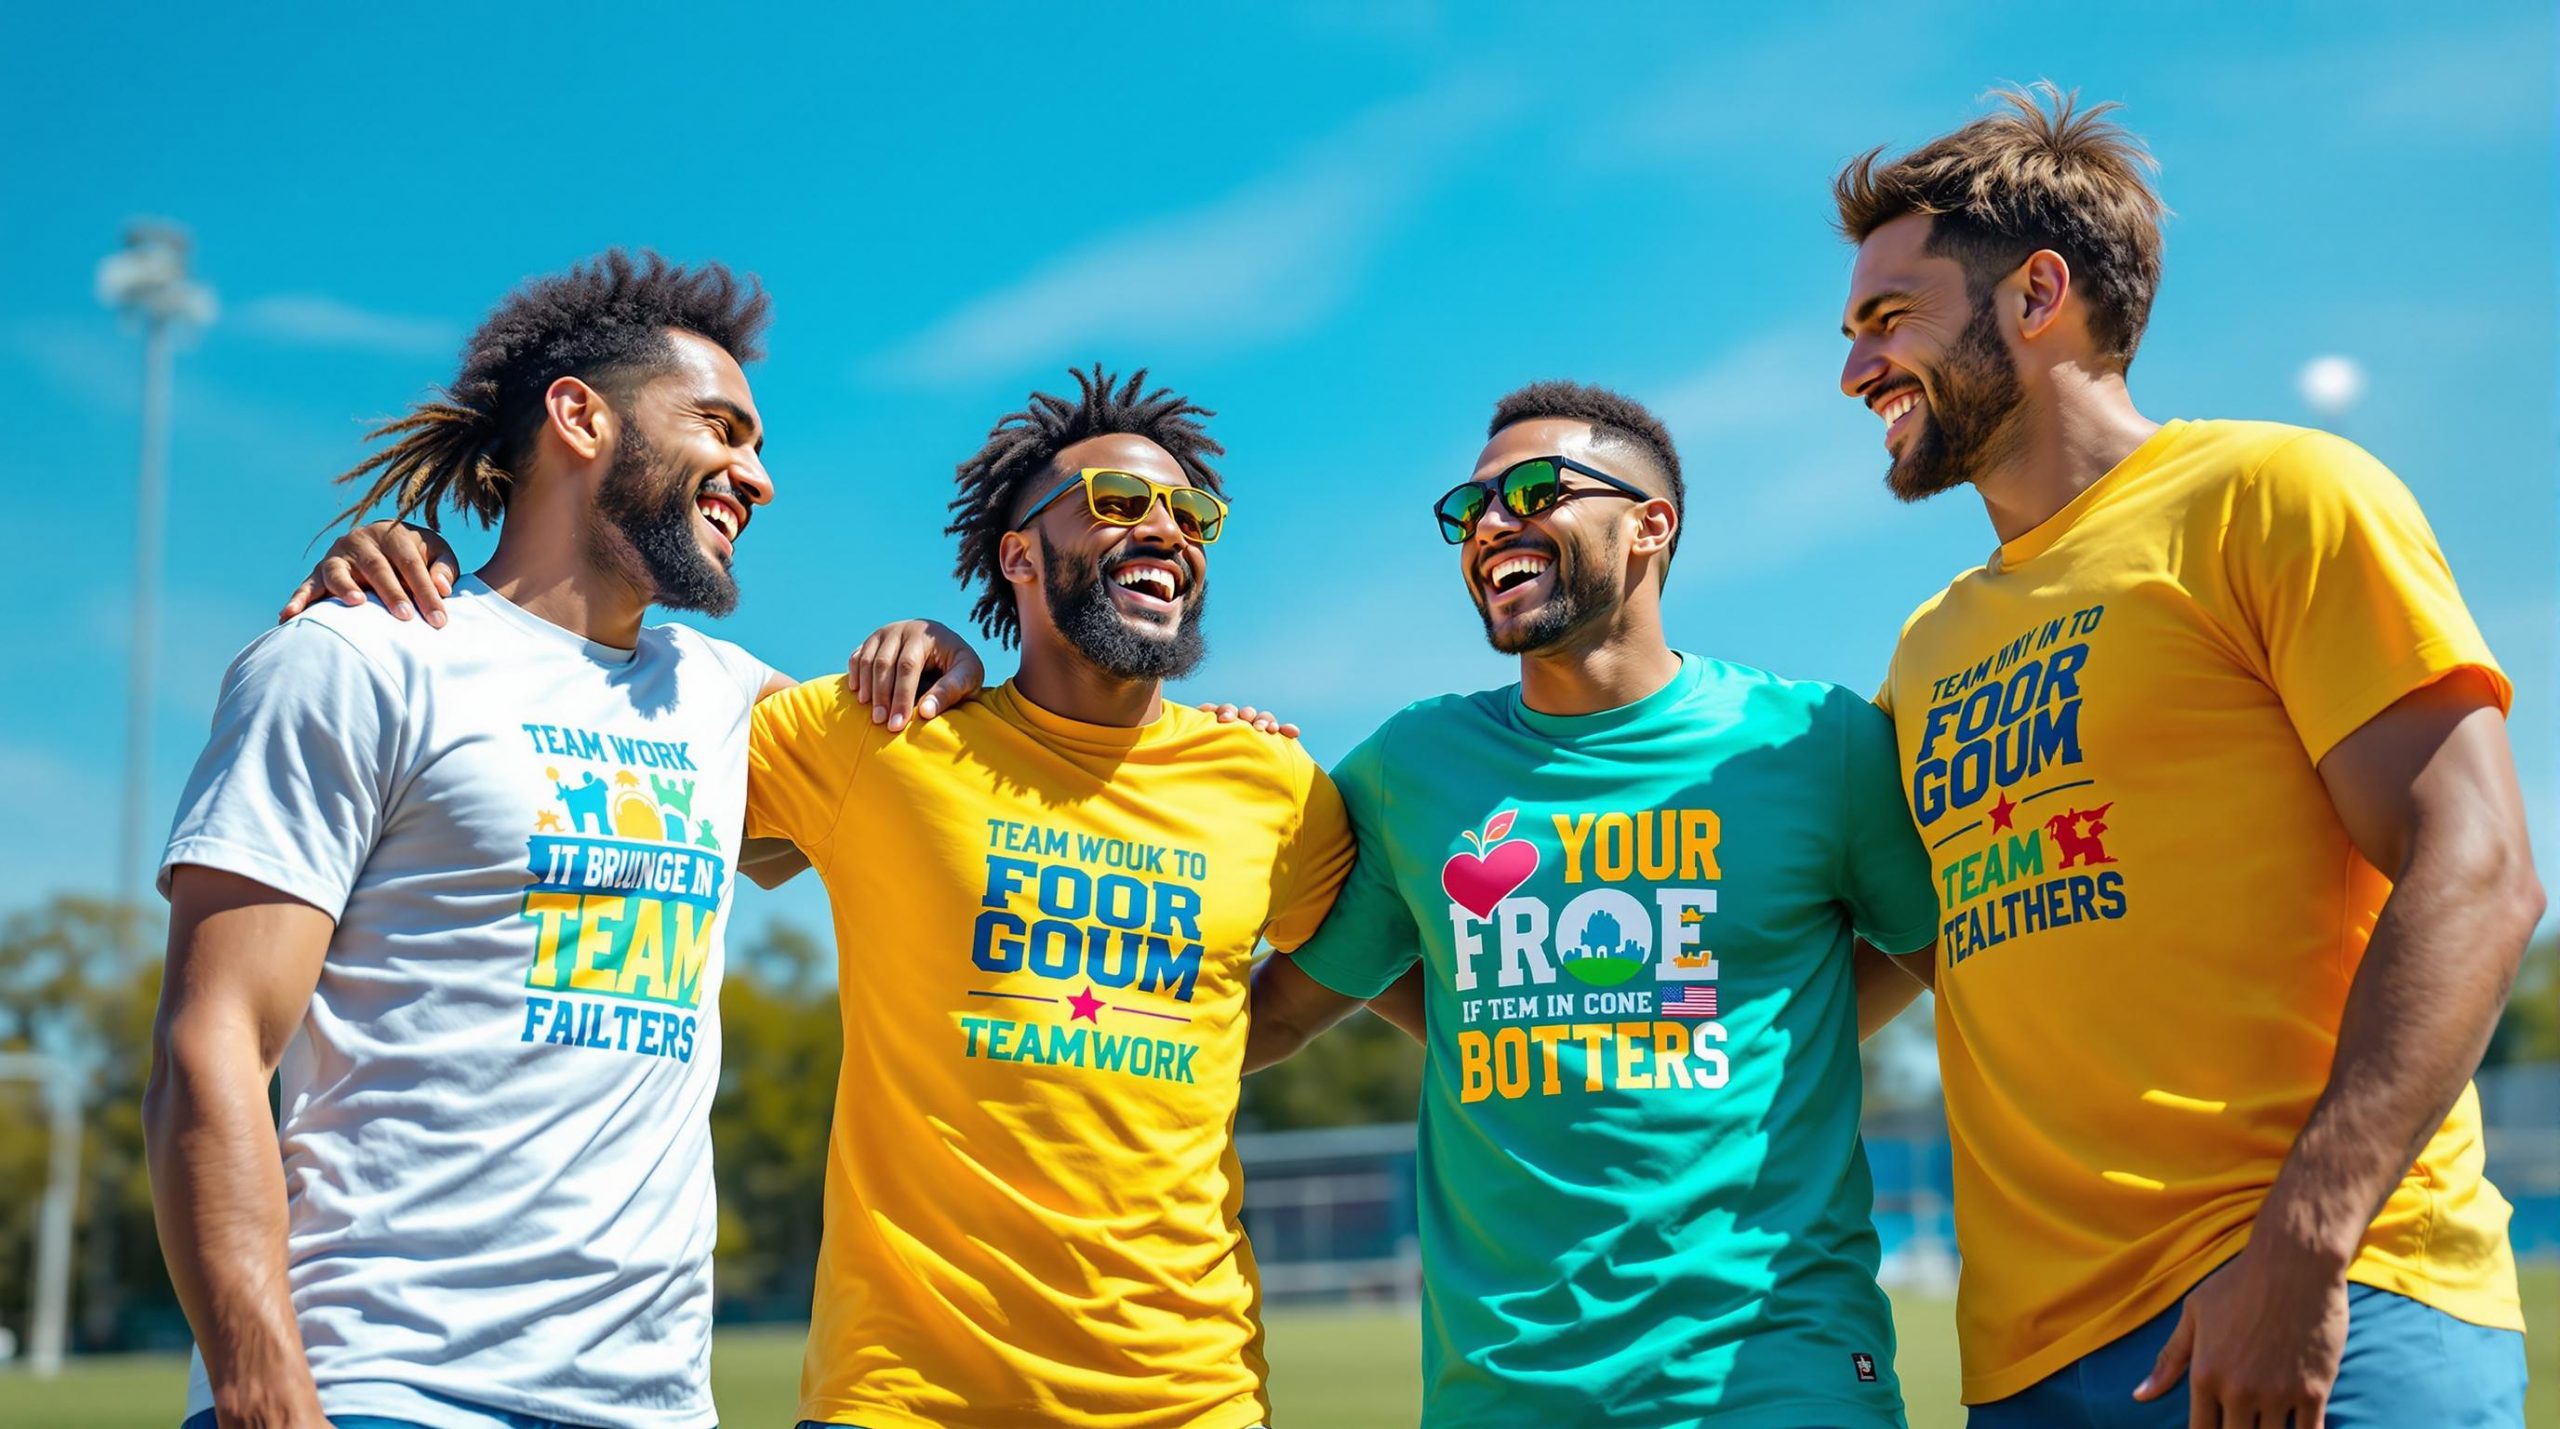
Creating custom team uniforms? Here’s what you need to know:
- Identify Team Values: Reflect team identity through design.
- Pick a Color Scheme: Use 2-3 colors aligned with your team’s image.
- Choose Durable Materials: Match fabric to activity and climate.
- Keep Designs Simple: Avoid clutter for clarity and durability.
- Plan Print Size & Placement: Optimize visibility and proportions.
- Add Logos & Sponsors: Balance team branding with sponsor recognition.
- Involve the Team: Gather input for a unified design.
- Test the Design: Review digitally and with physical samples.
- Plan Production: Ensure timely delivery and quality control.
- Use Professional Tools: Platforms like ooShirts or Adobe Photoshop streamline the process.
Quick Overview:
| Step | Key Focus |
|---|---|
| Team Values | Define identity and mission |
| Color Scheme | Align with team image and visibility |
| Materials | Comfort, durability, and activity fit |
| Design Simplicity | Clarity and ease of production |
| Print Size/Placement | Proportions for visibility |
| Logos/Sponsors | Balanced branding |
| Team Involvement | Collaborative input |
| Testing | Digital and physical checks |
| Production Planning | Timelines and quality assurance |
| Professional Tools | Efficient and polished designs |
Get started by focusing on your team’s unique values and needs. A well-thought-out design can unify your team and leave a lasting impression.
Top 10 T-Shirt Printing Mistakes & How To Avoid Them
1. Identify Your Team’s Values
Understanding your team’s core values and mission is the first step. Are you known for resilience, forward-thinking ideas, or honoring tradition? These qualities should shape your design decisions [4].
Get input from your team through discussions or surveys to pinpoint what truly defines your group. This collaborative process ensures the final design reflects everyone’s perspective. For instance, if environmental responsibility is important, you might incorporate eco-conscious materials or nature-inspired elements.
Here’s how to capture your team’s essence:
- Look at your mission statement and team goals
- Reflect on past accomplishments and key milestones
- Gather input through team discussions or surveys
When translating these values into design, think about how they align with visual elements:
| Team Value | Design Expression |
|---|---|
| Innovation | Sleek, modern aesthetics |
| Tradition | Timeless team colors and classic details |
| Unity | Consistent and harmonious elements |
| Performance | Bold graphics and practical materials |
“Don’t underestimate simplicity. In my own personal opinion, the best sports uniforms out there are the ones that don’t have a whole lot going on but still take full advantage of multiple colors.” [4]
Your uniform should reflect your team’s identity and aspirations, becoming the foundation for every design decision [3]. From color palettes to material choices, these values will ensure the uniform feels meaningful and intentional.
With your values clearly defined, the next step is creating a color scheme that visually embodies your team.
2. Select a Color Scheme
Take a look at your current brand colors and guidelines to ensure your choices align with the values you’ve already established. Your team’s identity should steer the selection process, keeping practical uses in mind.
Here’s a quick breakdown of how colors can shape perception:
| Color | Psychological Impact | Best Used For |
|---|---|---|
| Red | Energy, passion, urgency | Sports teams, competitive settings |
| Blue | Trust, stability, professionalism | Corporate teams, business groups |
| Green | Growth, harmony, endurance | Outdoor teams, eco-focused organizations |
| Orange | Enthusiasm, creativity, confidence | Youth teams, creative groups |
| Black | Power, sophistication, authority | Elite teams, professional leagues |
When narrowing down your color palette, keep these practical points in mind:
- Field Visibility: Choose colors that stand out against your environment to ensure your team is easily seen.
- Material Differences: Colors can appear differently on fabrics, so it’s smart to test how they’ll look when printed.
- Keep It Simple: Stick to 2-3 colors for a clean and impactful design.
Use digital tools to test how your chosen colors interact and gather feedback from your team. This ensures the colors not only look great but also meet practical needs like visibility and durability [2][5][6].
With your colors locked in, it’s time to move on to selecting materials that will make your design shine and last.
3. Choose Durable Materials
Once you’ve decided on your color scheme, picking the right fabric is the next step to ensure your team uniforms are both comfortable and long-lasting. The material you select affects how the uniform feels and how well it holds up over time, reflecting your team’s focus on quality and performance.
Here are some popular fabric choices for team uniforms:
| Material Type | Features |
|---|---|
| Cotton-Polyester Blend (50/50) | Offers a mix of breathability and durability, with reduced shrinkage. |
| Performance Polyester | Known for its moisture-wicking abilities and resistance to fading. |
| Tri-Blend | Combines comfort, a natural drape, and strong durability. |
| Cotton-Heavy | Provides maximum breathability and a soft, comfortable feel. |
Performance polyester is perfect for intense sports, while cotton-polyester blends are a great all-around option for general team activities. If comfort is key, tri-blend fabrics are a solid choice, and cotton-heavy materials are best for indoor use or less strenuous activities.
When deciding on materials, keep these points in mind:
- Activity Level and Climate: Match the fabric to your team’s activity and environment. Lightweight materials are better for high-energy sports or warm weather, while heavier fabrics are suited for cooler conditions.
- Ease of Care: Think about how much maintenance the fabric requires. Some materials are easy to care for, while others need special washing or handling.
Lastly, test how well your chosen fabric works with your preferred printing method. Some materials pair better with screen printing, while others are more suited for heat transfer or embroidery. This step ensures your design looks great and lasts over time.
4. Keep Designs Simple
Simplicity is key when creating team uniforms. A clean and straightforward design ensures clarity, durability, and a polished appearance. Plus, it helps avoid common printing issues that can compromise your team’s professional look.
| Design Element | Benefits | Best Practices |
|---|---|---|
| Limited Color Palette | Reduces issues like bleeding or fading | Stick to 2-3 colors maximum |
| Bold Typography | Easy to read from a distance | Opt for sans-serif fonts |
| Clean Lines | Ensures sharp and crisp printing | Avoid overly detailed elements |
| Balanced Spacing | Creates a polished appearance | Leave enough white space |
When designing, focus on bold, sans-serif fonts for readability, clean lines for sharp results, and a limited color palette to avoid fading or bleeding. Balanced spacing ensures a professional and uncluttered look.
For visibility and practicality, prioritize these key placement areas:
- Center chest: Ideal for main logos
- Upper back: Perfect for numbers
- Left chest: Great for smaller emblems or team badges
Keep in mind that bold, single-color numbers or letters are more visible during gameplay and hold up well after repeated washing. A simple design not only avoids complications but also ensures your team’s identity stays front and center.
Once your design is finalized, the next step is to focus on print size and placement to maximize both functionality and visibility.
5. Determine Print Size and Placement
After finalizing your design, it’s time to focus on print size and placement to make sure your garment looks great and serves its purpose. A survey by Custom Ink in 2020 found that 62% of people prefer smaller to medium-sized logos, highlighting the importance of keeping proportions in check.
| Garment Type | Max Print Width | Recommended Placement |
|---|---|---|
| Standard T-shirt | 10-12 inches | Center chest, upper back |
| Tank Top | 8-9 inches | Center chest |
| Hooded Sweatshirt | 10 inches | Above pocket |
| Youth Sizes | 8 inches | Center chest |
Different garment styles, like hoodies or tank tops, have unique size limits. Adjust print sizes to match the garment’s size – for example, use an 8-inch width for youth shirts and 10 inches for larger sizes. This keeps the design proportional and ensures comfort, especially for active wearers [1].
Here are a few placement tips to guide you:
- Left Chest Logo: Position it 7-9 inches below the shoulder seam, with a diameter of 2-5 inches.
- Center Chest Design: Place it about 3 inches below the neckline.
- Back Numbers: Position them 6-8 inches below the collar for easy visibility.
For dark-colored shirts, larger prints often work better for readability. Always consult your printer to fine-tune the size based on the fabric and color [1]. Once you’re happy with the size and placement, you can move on to adding essential details like logos and sponsor information to complete your design.
sbb-itb-1cc5ba6
6. Integrate Logos and Sponsors
When it comes to integrating logos and sponsor branding, it’s all about creating a clear visual hierarchy that highlights team identity while giving sponsors the recognition they deserve.
Here’s a handy guide to positioning and sizing logos:
| Logo Type | Recommended Placement | Size Guidelines | Purpose |
|---|---|---|---|
| Primary Team Logo | Center chest, upper back | 8-12 inches wide | Represents the team |
| Primary Sponsor | Upper sleeve, back shoulder | 3-4 inches wide | High visibility |
| Secondary Sponsors | Lower back, sleeve cuffs | 2-3 inches wide | Additional recognition |
| Small Sponsors | Bottom hem, collar | 1-2 inches wide | Extra branding space |
For teams with multiple sponsors, use a tiered approach to keep the design balanced. Give major sponsors prime placement, like below the team logo on the chest, and reserve less prominent areas (like sleeve cuffs or the back) for smaller sponsors.
Technical Tips for Professional Results:
- Always use vector formats for resizing to maintain quality.
- Keep logos monochromatic to avoid clashing colors.
- Leave at least 2 inches of space between logos for a clean look.
- Adjust logo sizes to fit different uniform types (e.g., youth vs. adult sizes).
- For dark uniforms, add lighter outlines around logos for better visibility.
Be mindful not to overcrowd the design with too many sponsor logos. Overloading the uniform can dilute the team’s identity and make the overall design feel cluttered. Collaborate with your printer to ensure logos meet size and placement requirements for clear, high-quality printing.
Once the logos and sponsors are in place, you’ll be ready to involve your team in the design process to ensure everyone feels connected to the final look.
7. Involve Team in Design
Getting your team involved in the design process helps ensure the uniform represents everyone while meeting practical needs. A well-organized approach can balance creative ideas with efficient decision-making.
Collaborating with Your Team
Here’s how to get everyone on the same page:
- Gather initial ideas through team surveys.
- Share design mockups and ask for feedback.
- Use simple voting methods to finalize key decisions.
- Keep track of design choices and the reasoning behind them.
For larger teams, consider forming a small design committee with representatives from different areas. This keeps things efficient while ensuring a variety of perspectives are included.
Making the Process Smoother
Digital tools can make collaboration easier by allowing you to:
- Share designs and gather input quickly.
- Track any changes to the design.
- Set clear deadlines to keep things moving.
- Organize all feedback and decisions in one place.
While gathering input, focus on practical details like how visible the colors are and how durable the materials will be. That way, the final design will not only look good but also work well for its purpose.
Don’t forget to balance creative ideas with printing requirements and the budget limits mentioned earlier. By involving your team thoughtfully, you’ll create uniforms that everyone feels connected to and proud to wear.
After the team approves the final design, take the time to review and test it to make sure it meets both practical and aesthetic needs.
8. Review and Test Design
After gathering input from your team, it’s time to review and test the design. This step helps identify any issues early, saving both time and money while ensuring the uniforms represent your team’s identity.
Digital Review
Before creating physical samples, use digital proofing tools to check:
- Color accuracy: Ensure the colors match your expectations and work well together.
- Logo and text placement: Confirm everything is positioned correctly within printable areas.
- File format: Verify the design files meet the supplier’s specifications.
- Text readability: Check that text is legible at the sizes you plan to use.
Digital tools can give you a preview of how the design will look on fabric. However, they can’t replace the importance of physical testing [7].
Physical Sample Testing
Order physical samples to evaluate key factors, such as:
- How the colors look on the actual fabric.
- The quality and comfort of the material.
- Print durability after washing.
- How easily the design can be seen from different distances.
- The overall fit and appearance of the uniform.
Let team members test the samples during regular activities. Pay close attention to these aspects:
- Performance: How well the uniform holds up during movement.
- Visibility: How the design looks in various lighting conditions.
- Durability: How it fares after following care instructions.
Collect detailed feedback from everyone to make any necessary adjustments. This hands-on testing ensures the uniforms meet both the visual and practical standards you set earlier.
Once everything checks out, you’re ready to move ahead with production and delivery planning.
9. Plan Production and Delivery
Once your design is ready, careful planning for production and delivery ensures your team uniforms arrive on time and meet quality expectations. A structured plan helps you avoid delays that could disrupt team events or activities.
Production Timeline Planning
Custom uniforms usually take about 2-3 weeks to produce, covering design approval, manufacturing, and shipping. It’s smart to add some extra time for quality checks, especially for screen-printed designs. While screen printing takes longer than digital printing, it’s a reliable choice for durability and cost savings, particularly for team use.
Working with Printing Services
Good communication with your printer is key. Be clear about file formats, color matching, production capacity, and shipping options to avoid any hiccups. For larger orders, screen printing often strikes the right balance between quality and affordability.
Managing Large Orders
Handling big orders can be tricky. You might want to split shipments, prioritize items needed sooner, and keep quality checks consistent. This helps ensure everything stays on track without compromising the final product.
Tracking and Quality Control
Use your printer’s tracking tools to monitor order progress. Keeping an eye on deadlines and quality standards can help you spot and fix issues early, well before they become bigger problems.
Contingency Planning
Be prepared for unexpected situations. Look into rush production or faster shipping options, but keep in mind these might come with extra costs. Having a backup plan ensures your team gets their uniforms, no matter what challenges pop up.
With these steps in place, you’re ready to see your team uniforms come together and make your vision a reality.
10. Use Professional Design Tools
When it’s time to bring your designs to life, using professional tools can make all the difference. These tools help you create polished, print-ready designs efficiently while ensuring they represent your team’s identity.
Design Platforms and Software
Platforms like ooShirts and software such as Adobe Photoshop are excellent options for designing team uniforms, each catering to different needs:
| Software | Ideal For | Key Features |
|---|---|---|
| ooShirts | Simple, Fast Designs | Ready-to-use Templates, Real-time Previews, Direct Ordering |
| Adobe Photoshop | Advanced Customization | Precision Editing, Layer Control, Custom Effects |
ooShirts offers an easy-to-use online design lab, starting at $3.51 per basic t-shirt. It’s a great choice for teams looking for quick and straightforward solutions. For teams seeking more creative freedom, Adobe Photoshop provides powerful tools for intricate designs and custom effects.
Quality Assurance Tools
These professional tools ensure your designs meet high-quality standards by providing features like:
- Accurate color matching and high-resolution images for crisp, clear prints.
- Garment previews to check design placement and proportions.
- Export options in formats approved by printers, ensuring smooth production.
Design Resources
Many platforms include helpful resources to guide you through the design process, such as:
- Step-by-step tutorials and guides.
- Customizable templates to jumpstart your work.
- Recommendations for print techniques to achieve the best results.
With the right tools and resources, creating professional-grade team uniforms becomes a much smoother process.
Conclusion
Creating team uniforms involves a mix of smart planning, practical choices, and collaboration. By using durable materials and keeping designs simple yet professional, teams can craft uniforms that reflect their values while building a sense of pride and unity.
Using professional design tools can make a big difference. For example, ooShirts’ online design lab provides an affordable and easy-to-use platform that combines design features with professional printing services, making the process smoother.
When teams work together on the design, the final uniforms are more likely to meet both practical needs and personal preferences. From selecting the right fabrics to testing designs and gathering input, every step plays a role in achieving a balance between style and usability.
Whether you’re designing for a sports team, a workplace group, or a community organization, these steps offer a solid starting point. With careful planning and the right tools, you can create uniforms that not only look great but also stand as a lasting symbol of your team’s spirit and commitment.